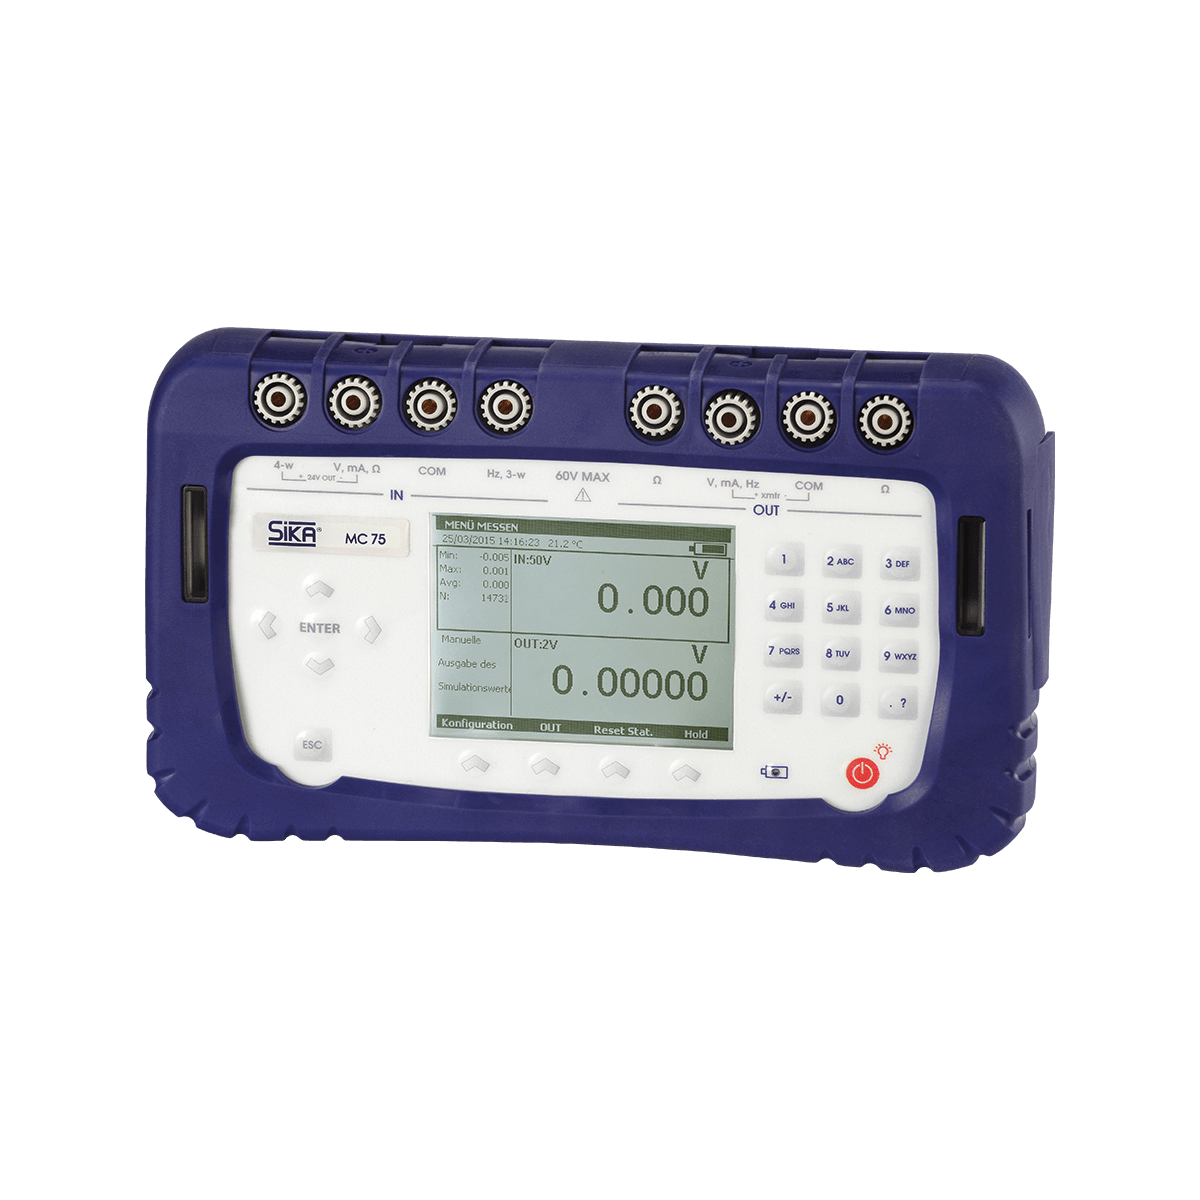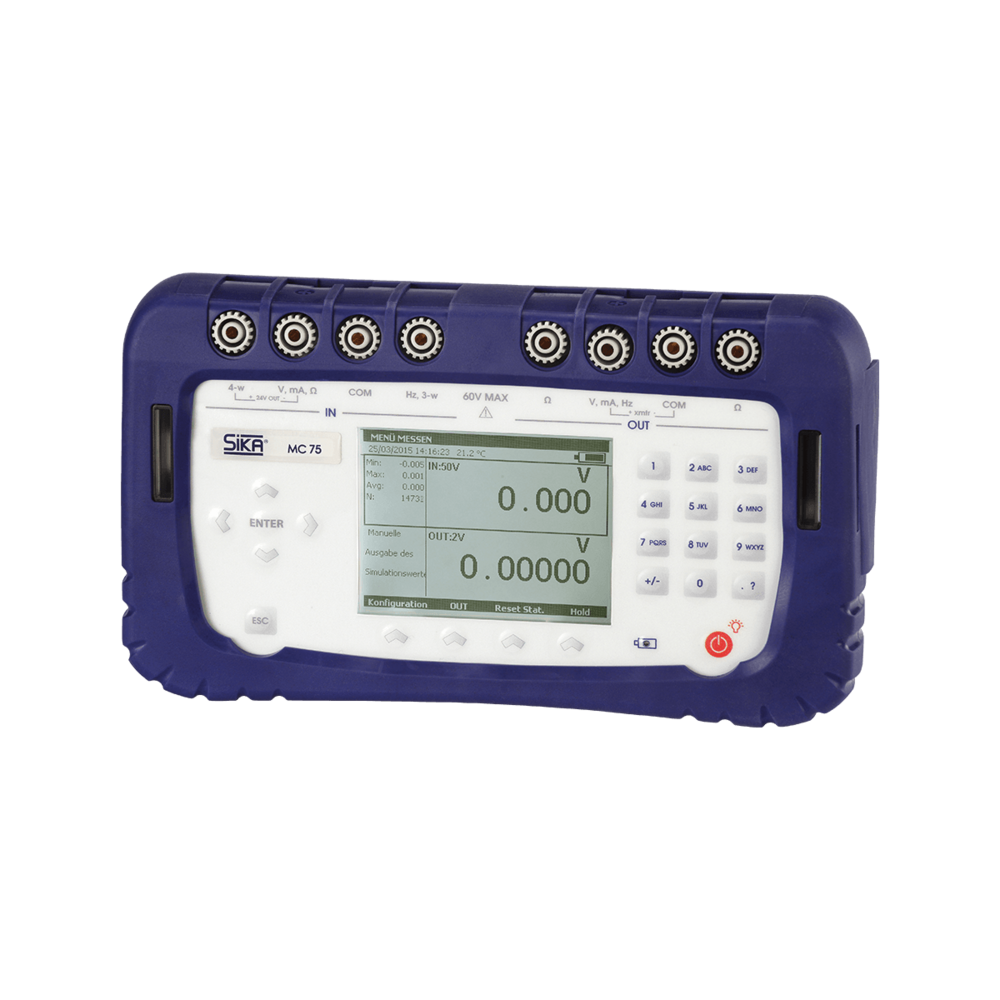


Multifunctions process calibrators / For resistance thermometers, thermocouples, pressure and electrical signals
Type MC 75.2
- Highest accuracy & data logger
- Simulation of RTD, TC, mA and V signals as well as frequency and pulses
- Possible connection of pressure modules
Configure product
SIKA process calibrators have been developed for simple and flexible calibration and maintenance. Various tests can be performed in a single operation without having to change instruments. This saves time. SIKA multifunction process calibrators combine the functions of a wide range of individual devices into a single unit.
Main applications
• Service, maintenance and repair
• Quality assurance
• Testing laboratories and research
• Instrumentation and control
• Process industry
• Energy supply
• Machine and apparatus engineering
Numerous other applications are also possible.
Steps and ramps
An automatic program is generated for periodic calls. The type of signal, duration and value are defined. Start delay, number of repetitions and a continuous linear increasing or decreasing characteristic can be individually programmed.
High-speed call
Signal values needed time and again are permanently or flexibly stored in the simulator and can be recalled quickly at the push of a button.
Synthesizer
The synthesiser function can be used for the generation of a discontinuous characteristic with changing signal values. Previously programmed changing signal levels are displayed on the simulator.
This function allows the simple definition and successive call of different steps, ramps or synthesiser values for easier testing.
Calibration and linearisation points
If the measuring characteristics and deviations of a sensor are known and these are available in the form of a calibration certificate, they should be taken into account in measurement to obtain accurate measuring results.
The simulator input can be shifted linearly by offset programming to approach the measuring characteristics of the sensor. This single-point calibration is the simplest and most popular method for improving measuring results.
Multipoint calibration can be used for greater measuring accuracy. The input is configured by means of four linearisation points to the real sensor characteristics to compensate for linearity errors. Up to five different calibration data files can be directly stored and easily recalled as required.
User-defined characteristics
Measurement is often based on ideal linear characteristics. In normal practice, sensors, transmitters, transducers, etc., are often subject to non-linear characteristics due to various offset, gradient, linearity or hysteresis errors. For the faultless measurement or generation of such non-linear characteristics, the measuring input or signal output can be configured with up to ten points by the user. The unit relating to the value is freely editable.
Request your personal offer for the product you have configured here. If you have any further questions, please do not hesitate to contact us. You will find your personal contact person here.